Learn Claude Code: All the Key Features, Chapter by Chapter
Learn Claude Code step by step: slash commands, memory, checkpoints, skills, hooks, MCP, subagents, plugins and more, with a task in every chapter.

To learn Claude Code, work through its 11 key features in this order: slash commands, memory, checkpoints, CLI basics, skills, hooks, MCP, subagents, advanced features, plugins and CLI mastery. Each chapter below explains what the feature is, why you need it, and gives you a task to finish before you move on. The order and the exercises follow the free Claude Code Learning Roadmap, and every chapter links to its source.
Using Claude in a chat window is not the same as using Claude Code. In chat, you ask and it answers. In Claude Code, Claude works inside your folders: it reads and edits files, runs commands, remembers your rules, connects to your tools and hands work to helper agents. If you only know the chat version, you are using a small part of what Claude can do for you.
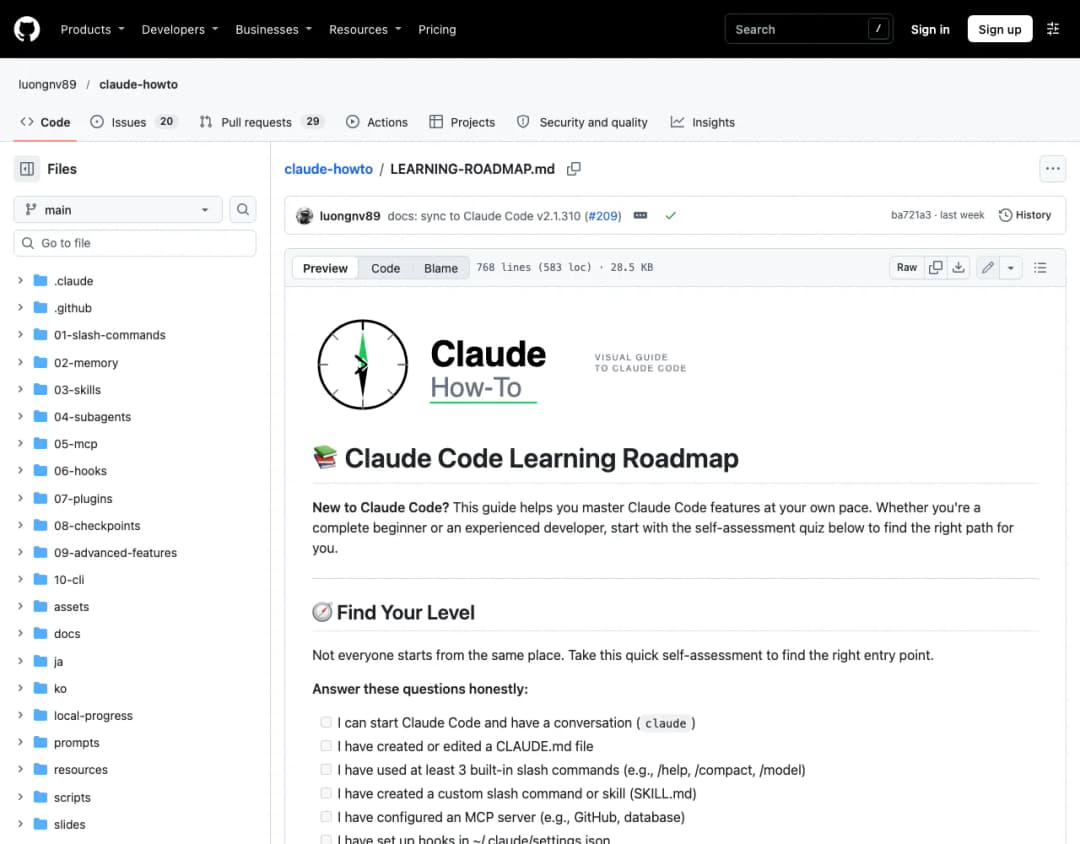
Claude Code Learning Roadmap and the ten guides it links to, by the Claude How-To contributors. Open it →
https://github.com/luongnv89/claude-howto/blob/main/LEARNING-ROADMAP.md
The 11 Chapters at a Glance
| # | Chapter | What you will be able to do | Time |
|---|---|---|---|
| 1 | Slash commands | Save a prompt once and run it with a slash | 30 min |
| 2 | Memory | Make Claude remember your project and your rules | 45 min |
| 3 | Checkpoints | Undo Claude's changes and try another approach | 45 min |
| 4 | CLI basics | Use Claude Code interactively, in one shot, and with piped files | 30 min |
| 5 | Skills | Teach Claude a routine once so it works that way every time | 1 hour |
| 6 | Hooks | Run checks and automation automatically on events | 1 hour |
| 7 | MCP | Connect Claude to live data in outside services | 1 hour |
| 8 | Subagents | Hand work to specialist helper agents | 1.5 hours |
| 9 | Advanced features | Plan before building, control permissions, run tasks in the background | 2 to 3 hours |
| 10 | Plugins | Bundle and share your setup as one package | 2 hours |
| 11 | CLI mastery | Script Claude, get JSON output and use it in automation | 1 hour |
The times are the roadmap's own estimates, about 11 to 13 hours in total. The roadmap groups the chapters into three levels: Level 1 is chapters 1 to 4, Level 2 is chapters 5 to 8, and Level 3 is chapters 9 to 11.
Set Up Once: Get the Exercise Files
The exercises copy example files out of the guide, so download it once and work inside the folder. You need Claude Code installed, which means you can type claude in a terminal and get a reply. Everything in this folder is your practice space, so nothing in your real projects can be changed by mistake.
Run in your terminal. Needs git installed. Run every exercise from inside this folder.
git clone https://github.com/luongnv89/claude-howto.git
cd claude-howto
Chapter 1: Slash Commands
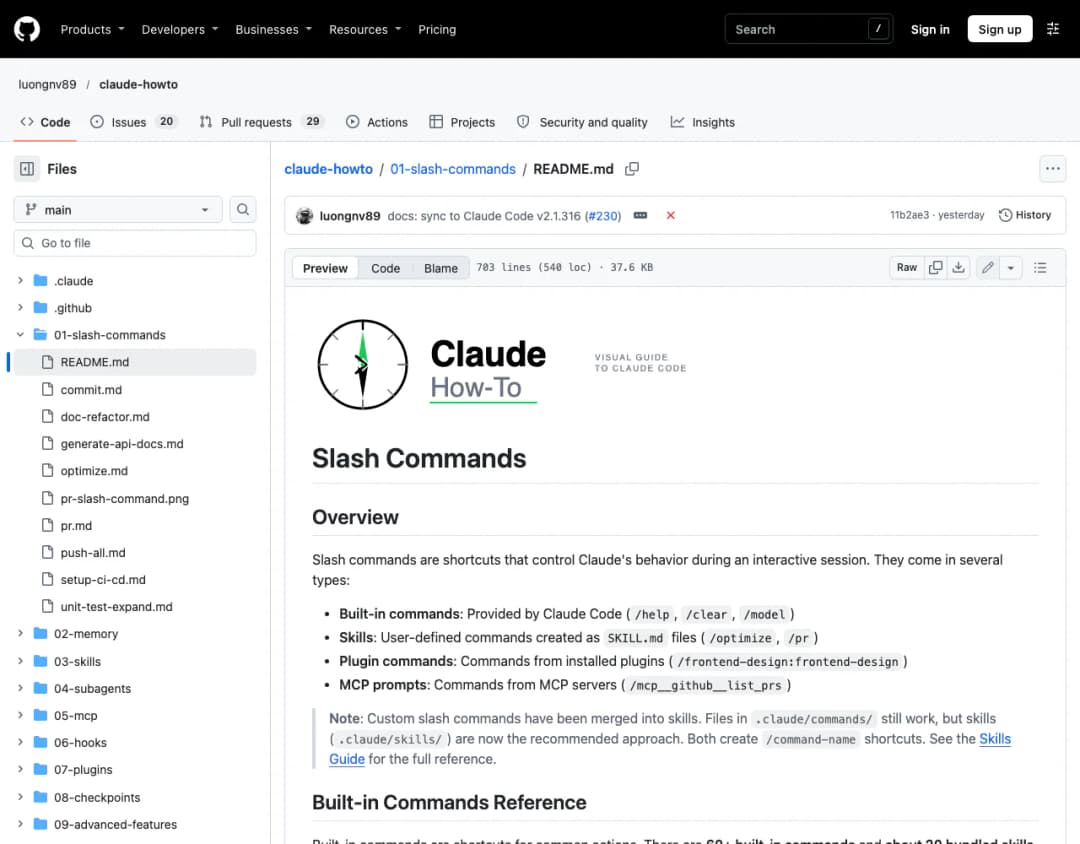
Level 1 · 30 minutes · Source: 01-slash-commands
What it is
Slash commands are shortcuts that control Claude's behaviour during a session. You type a slash and a name, and Claude runs it. There are four kinds: built-in commands such as /help, /clear and /model (more than 60 of them); skills you write yourself as SKILL.md files, such as /optimize and /pr; commands that come from installed plugins; and prompts offered by MCP servers.
Why you need it
Every prompt you retype is wasted effort. A slash command turns it into one word, so your best instructions run the same way every time, and a whole team can share them.
Key things to know
- Type
/to see every available command. Typing letters after it filters the list. - Custom slash commands have been merged into skills. Files in
.claude/commands/still work, but skills in.claude/skills/<name>/SKILL.mdare now the recommended way. If both exist with the same name, the skill wins. - A command file has a
nameand adescriptionat the top, and your instructions below.
Task: install a command, then write your own
Look at what already exists
Start Claude Code with claude. Type / and scroll the list. Then try /help.
Install the guide's example command
Exit Claude Code, then run the two commands in the first box below. They copy the example /optimize command into your project.
Run it
Start Claude Code again, type /optimize and press Enter. If it does not appear in the list, restart the session.
Write your own
Create the folder .claude/skills/my-command/, save the second box as SKILL.md inside it, and change the name, description and steps to something you do often. Then type /my-command.
Run in your terminal from the claude-howto folder.
mkdir -p .claude/commands
cp 01-slash-commands/optimize.md .claude/commands/
Save as .claude/skills/my-command/SKILL.md and replace the placeholders.
---
name: my-command
description: What this command does and when to use it
---

# My Command

Instructions for Claude to follow when this command is invoked.

1. First step
2. Second step
3. Third step
You are done when /optimize runs from the slash menu, and your own /my-command runs the steps you wrote without you typing them again. If a command is not found, check the file path, check the name matches, restart the session and run /help.
Chapter 2: Memory
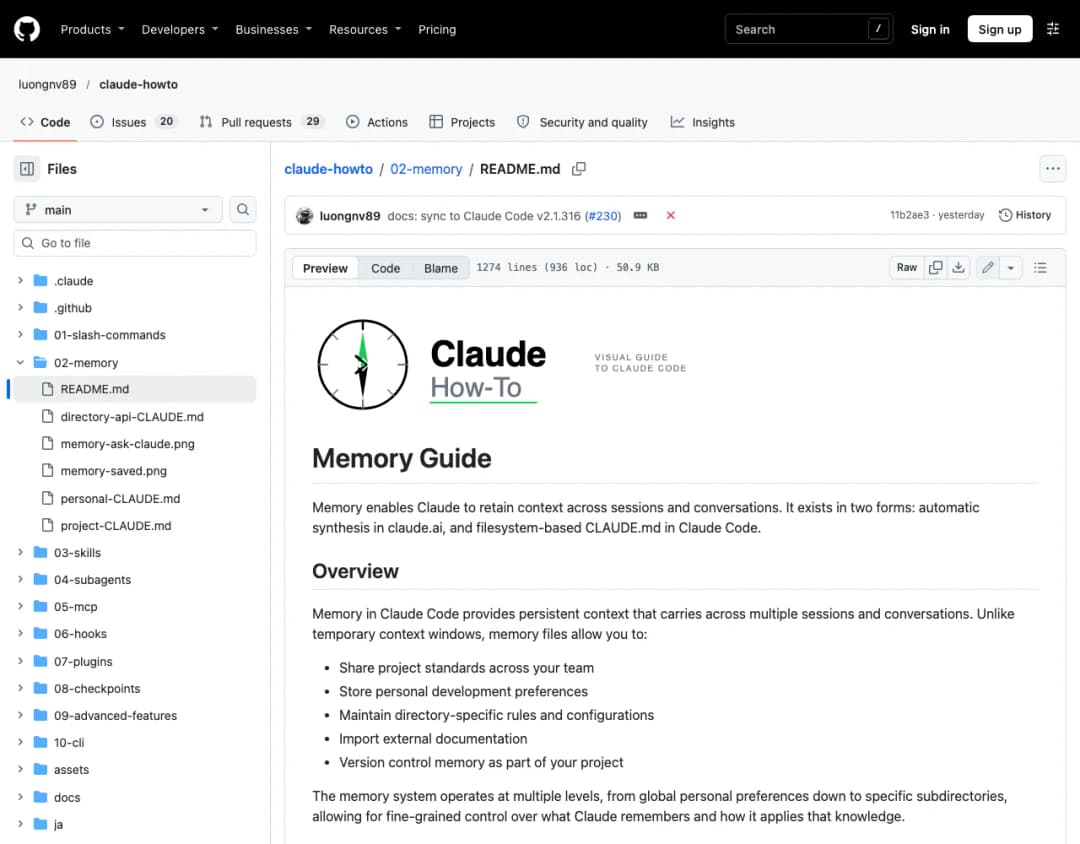
Level 1 · 45 minutes · Source: 02-memory
What it is
Memory is persistent context that carries across sessions. In Claude Code it lives in files called CLAUDE.md, which Claude reads at the start of every session. Claude also keeps its own notes, called auto memory, in ~/.claude/projects/<project>/memory/. The guide says the first 200 lines of its MEMORY.md file (or 25 KB) are loaded at the start of a session.
Why you need it
Without memory, you explain your project and your rules at the start of every session. With it, Claude already knows your standards, your preferences and how your project is laid out.
Key things to know
| Where | What it is for |
|---|---|
~/.claude/CLAUDE.md | Your personal preferences, for all projects |
./CLAUDE.md or ./.claude/CLAUDE.md | Team standards for this project, shared through git |
./CLAUDE.local.md | Your personal preferences for this project. Add it to .gitignore. |
/initcreates a starting CLAUDE.md for your project./memoryopens your memory files for editing.- You can also ask in plain words, such as "remember that we always use TypeScript strict mode". The old
#shortcut was discontinued. - All these files are added together into Claude's context. They do not replace each other.
Task: give Claude a memory, then test it
Create the project memory
Run the command below to copy the guide's example project memory file into your folder as CLAUDE.md.
Make it yours
Start Claude Code and type /memory. Edit the file so it holds three rules you really want, for example how you want answers written.
Start a fresh session and test it
Exit, run claude again, and ask "what standards should you follow in this project?" Claude should answer from your CLAUDE.md without being shown the file.
Add one rule by talking
Say "remember that I prefer short answers". Per the guide, this saves to auto memory. To put it in CLAUDE.md instead, say "add this to CLAUDE.md".
Run in your terminal from the claude-howto folder. This is the roadmap's own exercise.
cp 02-memory/project-CLAUDE.md ./CLAUDE.md
You are done when a brand-new session knows your project standards without you typing them, and you can say when to use a slash command (a shortcut you run) and when to use memory (a rule Claude always knows).
Chapter 3: Checkpoints
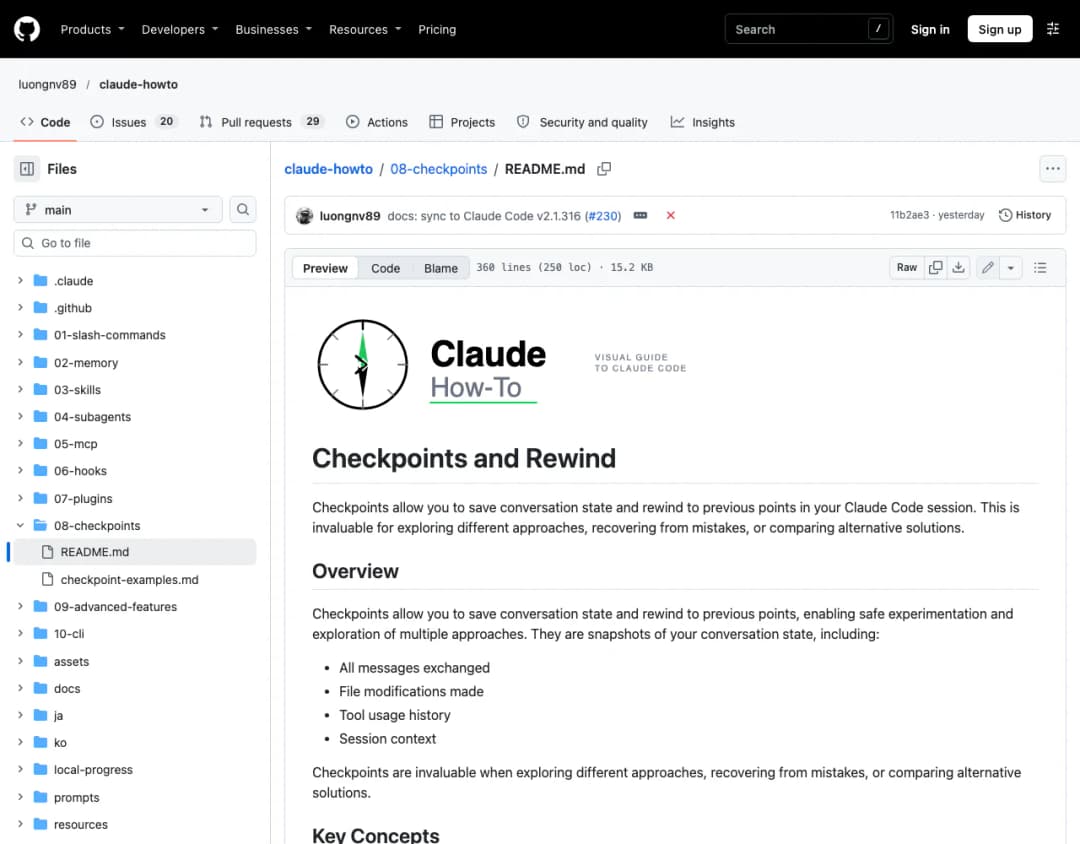
Level 1 · 45 minutes · Source: 08-checkpoints
What it is
A checkpoint is a snapshot of your session: the messages, the file changes, the tool history and the context. Claude Code creates one automatically with every prompt you send. Rewinding returns you to an earlier checkpoint and discards what came after.
Why you need it
It removes the fear of experimenting. You can let Claude try a big change, and if it goes wrong, go back in a few seconds. It is also the easiest way to compare two approaches: try A, rewind, try B.
Key things to know
- Open it by pressing
Esctwice, or with/rewind(also/checkpointand/undo). - The rewind menu offers up to six options. The main three are Restore code and conversation, Restore conversation and Restore code. There are also two Summarize options that free up context space, and Never mind.
- Checkpoints are saved with the conversation and cleaned up after 30 days.
- Limits: changes made only by Bash commands, changes made outside Claude Code, and a subagent's edits to files Claude had not edited are not tracked. The guide says checkpoints are not a replacement for git.
Task: change something, then undo it
Make a file to experiment on
In Claude Code, type: "create a file called practice.txt with five short lines about this project".
Change it a lot
Type: "rewrite practice.txt completely, as a poem". Open the file and confirm it changed.
Rewind
Press Esc twice, or type /rewind. Select the checkpoint from before the poem request.
Choose what to restore
Pick Restore code and conversation. Open practice.txt again and check that your original five lines are back.
You are done when the file is back to its original five lines after the rewind. Bonus: try Restore conversation instead and notice that the code stays as it is, while the chat goes back.
Chapter 4: CLI Basics
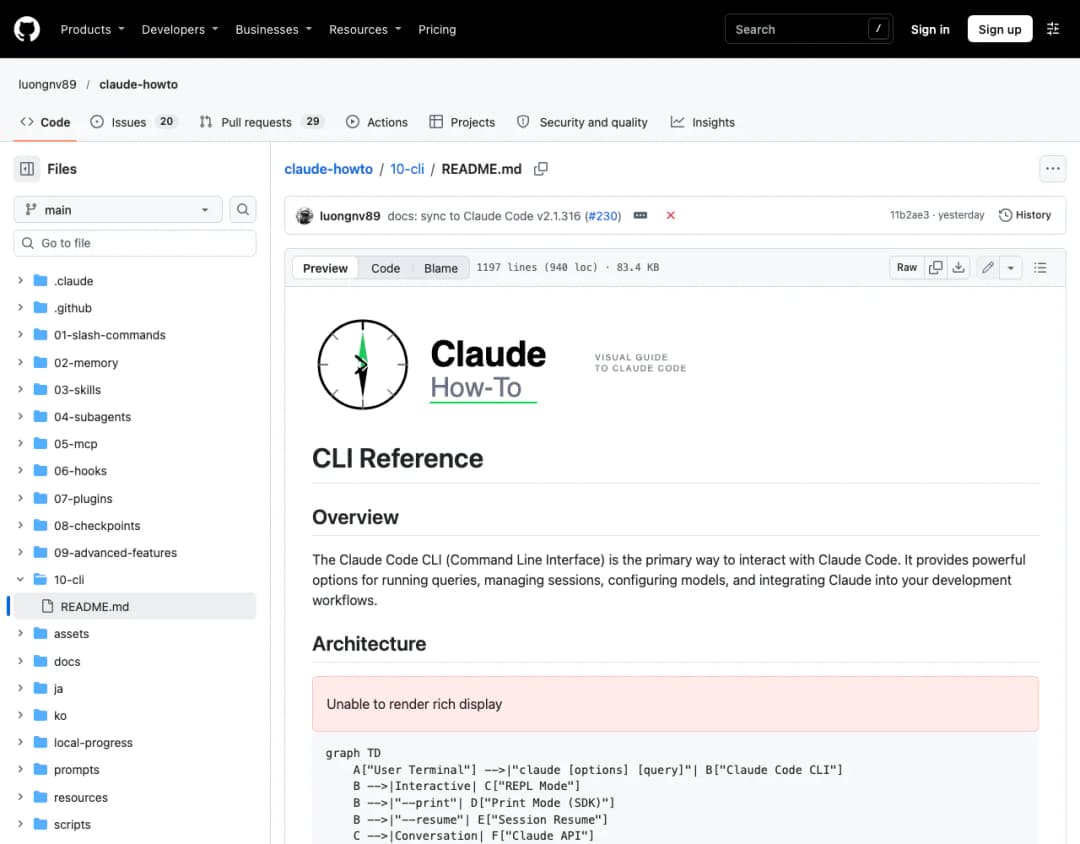
Level 1 · 30 minutes · Source: 10-cli
What it is
The command-line interface is the main way to run Claude Code. claude opens interactive mode, which is a back-and-forth conversation. claude -p is print mode: it answers one question and exits. You can also pipe a file into Claude with cat file | claude -p "...".
Why you need it
Interactive mode is for working. Print mode is for quick answers and for using Claude inside scripts, which is what makes the later chapters on hooks and automation possible.
Key things to know
claude "query"starts a conversation with your first question already asked.claude -ccontinues your most recent conversation.claude -r "name" "query"resumes a named or numbered session.claude updateupdates Claude Code to the latest version.
Task: use all three modes
Interactive with a first question
Run the first command below. Claude opens a conversation and answers straight away. Type /exit when done.
Print mode
Run the second command. The answer prints in your terminal and Claude exits, with no conversation left open.
Pipe a file in
Make a small text file called error.log holding any error message, a real one or a made-up line. Then run the third command.
Continue where you left off
Run claude -c to reopen your most recent conversation.
Run in your terminal. These are the roadmap's own exercises.
claude "explain this project"           # interactive mode
claude -p "explain this function"       # print mode, non-interactive
cat error.log | claude -p "explain this error"
You are done when you have used interactive and print mode, piped a file to Claude for analysis, and you can say which one you would use for a quick one-off answer. That finishes Level 1. The roadmap suggests testing yourself with /lesson-quiz before you continue.
Chapter 5: Skills
Level 2 · 1 hour · Source: 03-skills
What it is
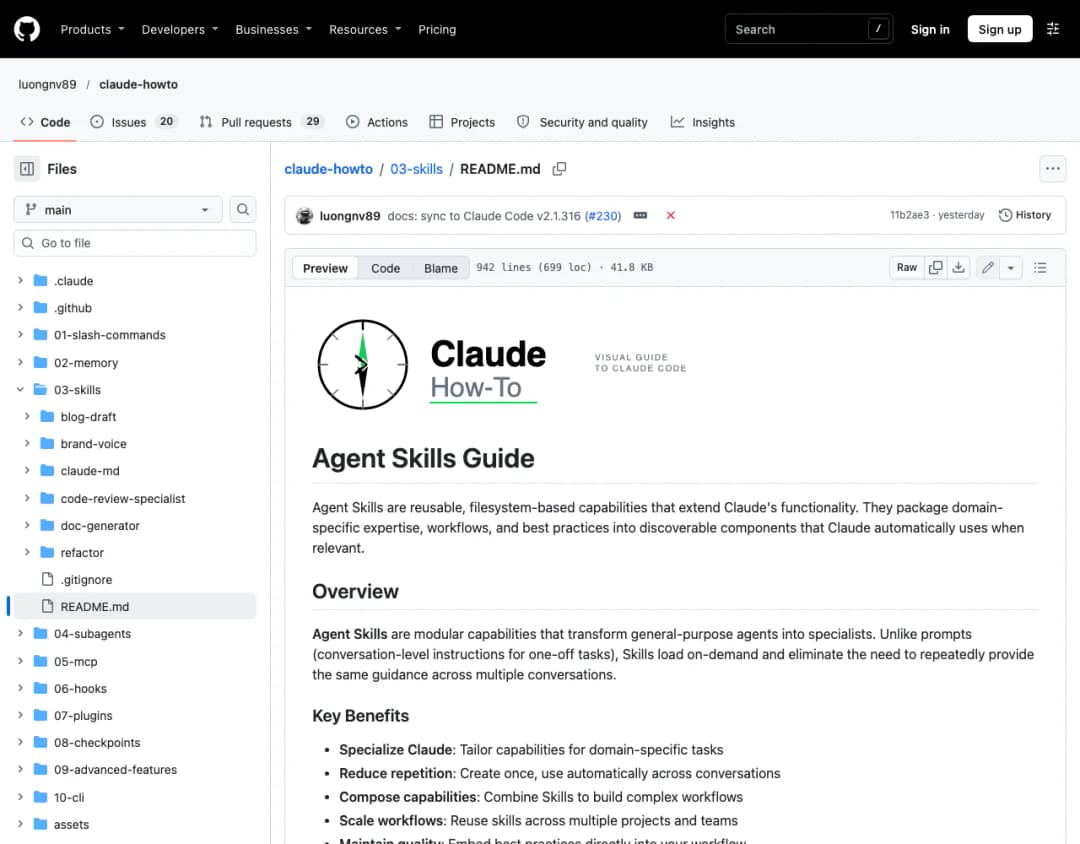
A skill is a folder with a SKILL.md file of instructions that Claude loads automatically when your request matches the skill's description. You teach Claude a routine once, and from then on it works that way every time, in every conversation. The guide contrasts this with an ordinary prompt, which only applies to one conversation.
Why you need it
You stop repeating yourself. Whatever you keep explaining, whether it is a report format, a review checklist or a writing style, becomes something Claude simply knows.
Key things to know
- How it loads. At startup Claude reads only each skill's name and description, about 100 tokens per skill. It loads the full instructions only when a request matches, and bundled scripts only if needed. This is why the description is the most important line.
- Where skills live. Personal skills are in
~/.claude/skills/<name>/SKILL.mdand work in every project. Project skills are in.claude/skills/<name>/SKILL.mdand can be shared through git. - Who can run it. By default, both you and Claude can. Add
disable-model-invocation: trueto make it manual only, which the guide recommends for actions with side effects such as/deploy. - Write a specific description. The guide's example of a bad one is "Helps with documents". A good one says what it does and when to use it, with the words you would naturally say.
Task: install a skill and make Claude use it on its own
Install the guide's code review skill
Run the command below. It copies a ready-made skill into your personal skills folder.
Check Claude can see it
In Claude Code, ask "What skills are available?" The code-review-specialist skill should be listed. If it is not, run /reload-skills.
Use it without naming it
Ask "Can you help me review this code for security issues?" about any code file in the folder. You are testing whether Claude picks the skill because your request matches its description.
Then call it directly
Type /code-review-specialist followed by a file name. The guide lists this as the second way to test a skill.
Run in your terminal from the claude-howto folder.
cp -r 03-skills/code-review-specialist ~/.claude/skills/
You are done when Claude uses the code review skill on its own when you ask a matching question. If it does not trigger, make the description more specific. If it triggers too often, make it narrower or add disable-model-invocation: true. After you edit a SKILL.md, run /reload-skills.
Chapter 6: Hooks
Level 2 · 1 hour · Source: 06-hooks
What it is
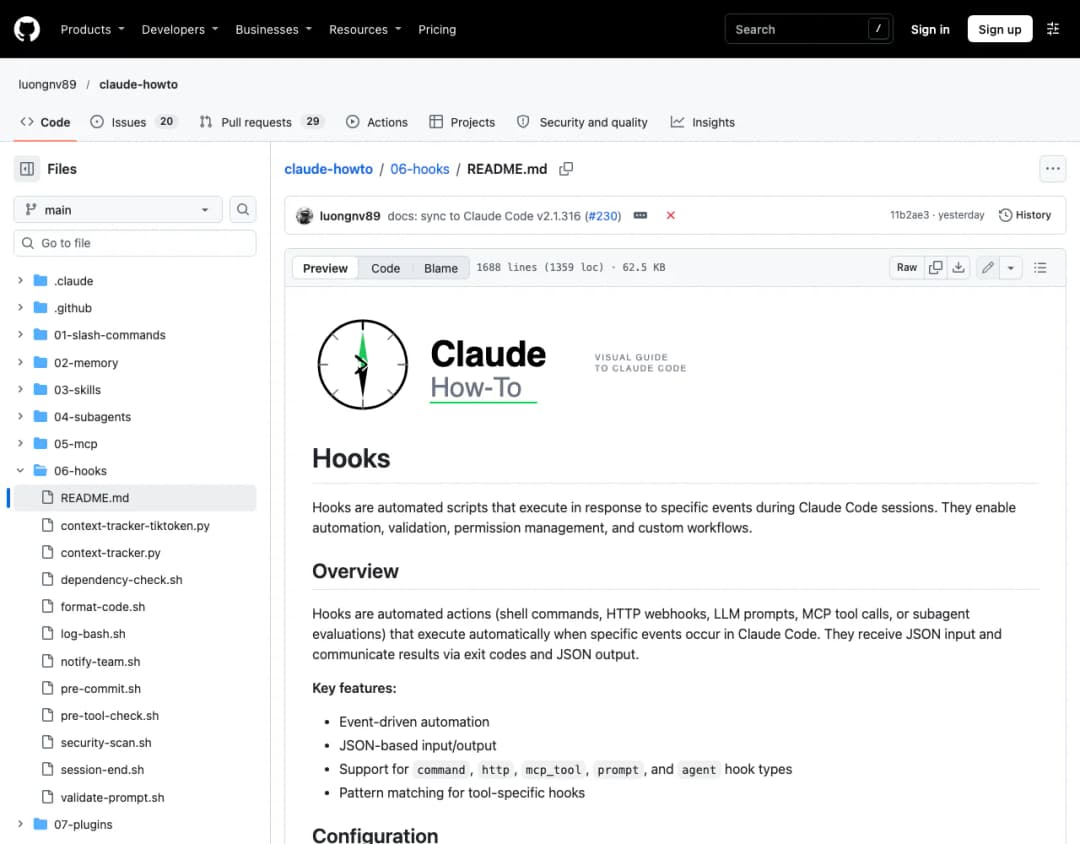
Hooks are automated actions that run when a specific event happens in a Claude Code session, such as just before Claude runs a command or just after it edits a file. They can be shell commands, web calls, prompts, MCP tool calls or subagent checks. The guide lists 33 hook events and 5 hook types.
Why you need it
A skill is advice Claude may follow. A hook is a rule that runs every single time, whether Claude remembers it or not. That makes hooks the right tool for safety checks, formatting and logging.
Key things to know
- Where they are set up. In
~/.claude/settings.jsonfor all projects, or.claude/settings.jsonfor one project. - The matcher chooses which tool the hook watches, such as
Bash, orEdit|Writefor either. - Three events to know first:
PreToolUse(before a tool runs, can block it),PostToolUse(after it succeeds) andStop(when Claude finishes responding). - Exit codes. A hook that exits 0 lets things continue. Exit 2 blocks the action and shows the error. Any other code is a non-blocking error.
- Debugging. Run
claude --debugto see hook logs, and pressCtrl+Ofor verbose mode.
Task: install a safety hook and test it
The guide's pre-tool-check.sh runs before every Bash command. Reading its code, it blocks a short list of destructive patterns (such as mkfs. and dd if=/dev/zero), logs a warning for risky ones (such as git reset --hard), and records every decision in an audit log at .claude/hooks/audit.log.
Install the script
Run the first box below. It copies the script into ~/.claude/hooks/ and makes it executable.
Switch it on
Add the second box to ~/.claude/settings.json. If you already have a settings file, add the hooks block inside it instead of replacing the file.
Test the script on its own first
The guide recommends testing a hook with sample JSON before trusting it. Run the third box. The first test is a harmless command, and the second only contains the text of a blocked pattern, so nothing is run. Check the exit code after each with echo $?. From the script's code, you should see 0 for the first and 2 for the second.
See it work inside Claude Code
Start Claude Code and ask it to run ls. Then open .claude/hooks/audit.log in your project. Each Bash command Claude ran should have a line marked ALLOW, WARN or BLOCK.
Run in your terminal from the claude-howto folder.
mkdir -p ~/.claude/hooks
cp 06-hooks/pre-tool-check.sh ~/.claude/hooks/
chmod +x ~/.claude/hooks/pre-tool-check.sh
The roadmap's own configuration.
{
  "hooks": {
    "PreToolUse": [
      {
        "matcher": "Bash",
        "hooks": [
          {
            "type": "command",
            "command": "~/.claude/hooks/pre-tool-check.sh"
          }
        ]
      }
    ]
  }
}
Run in your terminal. After each one, type echo $? to see the exit code.
echo '{"tool_name":"Bash","tool_input":{"command":"ls -la"}}' | ~/.claude/hooks/pre-tool-check.sh
echo '{"tool_name":"Bash","tool_input":{"command":"mkfs.ext4 test"}}' | ~/.claude/hooks/pre-tool-check.sh
You are done when the hook runs before Claude's Bash commands, the audit log fills up, and you can explain the difference between a skill that Claude chooses to use and a hook that fires on an event. If a hook does not run, check the JSON is valid, the matcher matches the tool name, the script is executable with chmod +x, and run claude --debug.
Chapter 7: MCP
Level 2 · 1 hour · Source: 05-mcp
What it is
MCP, the Model Context Protocol, is a standard way for Claude to reach outside tools, APIs and live data. Claude sends a request to an MCP server, the server talks to the real service, and the result comes back. The guide's key point is that memory stores fixed text, while MCP gives live access to data that changes often.
Why you need it
Without MCP, Claude can only see your folder and your chat. With it, Claude can read your GitHub pull requests, query a database, check Slack or open a Google Doc, and use the real answer instead of guessing.
Key things to know
- The guide's server table lists the filesystem, GitHub, Slack, databases, Google Docs, Asana, Stripe and a memory server.
- Add a server with
claude mcp add. HTTP is the recommended transport for remote servers. - Type
/mcpinside a session to list connected servers and see their state. - A server can be saved for just you, for one project through a
.mcp.jsonfile shared in git, or for all your projects.
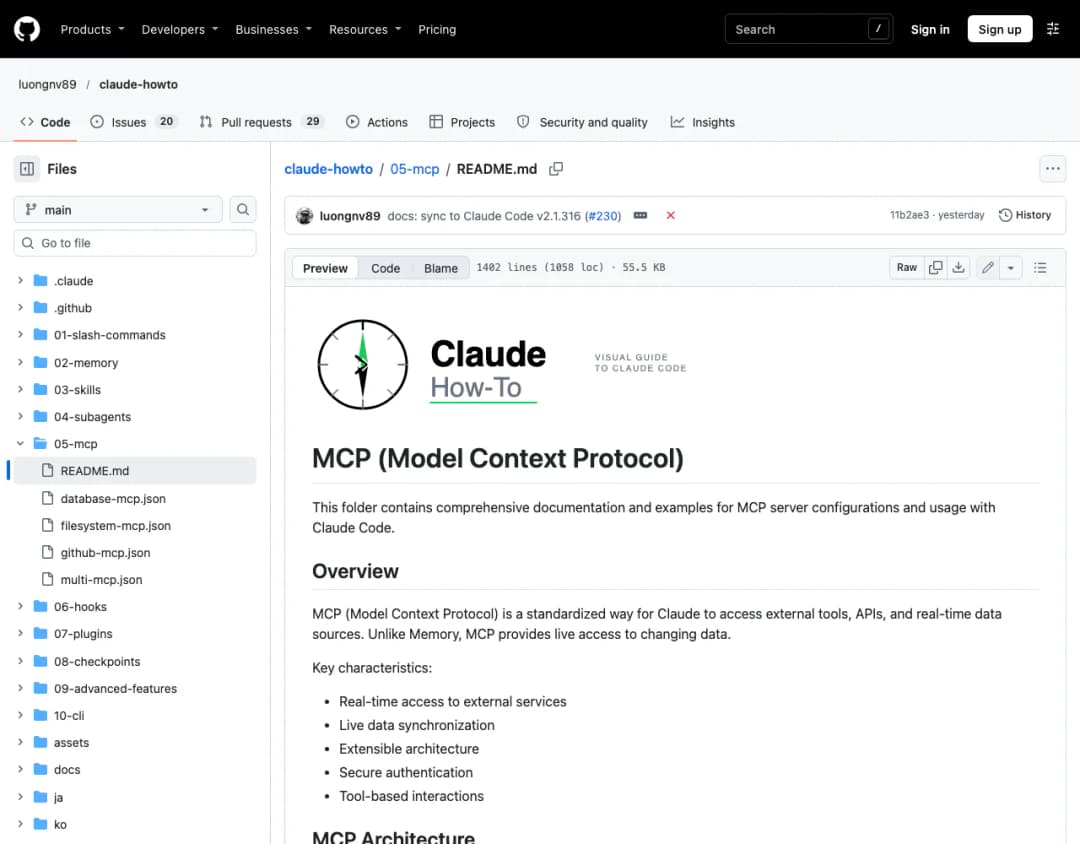
Safety rules from the MCP guide. Use read-only tokens when you can. Keep tokens in environment variables and never hardcode them in config files. Never commit tokens to git or share them in chat. Give each server only the access it needs. For databases, the guide warns that a database server can run any SQL it receives, including deletes, unless you turn on read-only mode, so use a local or throwaway database and never production.
Task: connect Claude to GitHub
Make a read-only token
In your GitHub account settings, create a personal access token with read access only. Keep it private.
Add the server
Run the command below in your terminal, with your own token in place of YOUR_GITHUB_PAT.
Check the connection
Start Claude Code and type /mcp. GitHub should be listed, and the guide says the list now shows how many tools each server has, and flags servers with none.
Ask a real question
Type /mcp__github__list_prs, or ask in words about a repository you can read, such as "show me the open pull requests".
Run in your terminal. Replace YOUR_GITHUB_PAT with your own read-only token, and never share it.
claude mcp add --transport http github https://api.githubcopilot.com/mcp/ --header "Authorization: Bearer YOUR_GITHUB_PAT"
You are done when Claude answers a question using your real GitHub data. Once one server works, the others follow the same pattern.
Chapter 8: Subagents
Level 2 · 1.5 hours · Source: 04-subagents
What it is
Subagents are specialised AI assistants that Claude Code can hand tasks to. Each has one purpose, its own context window separate from your main conversation, its own instructions, and tool access you can restrict. It does its job and returns the result to your main chat.
Why you need it
Big tasks fill up a single conversation with detail. A subagent does the messy work in its own space and brings back only the answer. Because they are independent, several can work at the same time.
Key things to know
- A subagent file is a markdown file in
.claude/agents/for one project, or~/.claude/agents/for all projects. It needs anameand adescription. It can also listtools, amodeland more. - Built in. Claude Code ships with six, including
general-purpose,Plan(researches your code in plan mode) andExplore(a read-only code searcher). - Creating your own. Since version 2.1.198 the old
/agentswizard is gone. Ask Claude ("create a subagent that reviews security") or add the file yourself. - Subagents or MCP? MCP connects Claude to outside services. Subagents split Claude's own work into focused helpers.
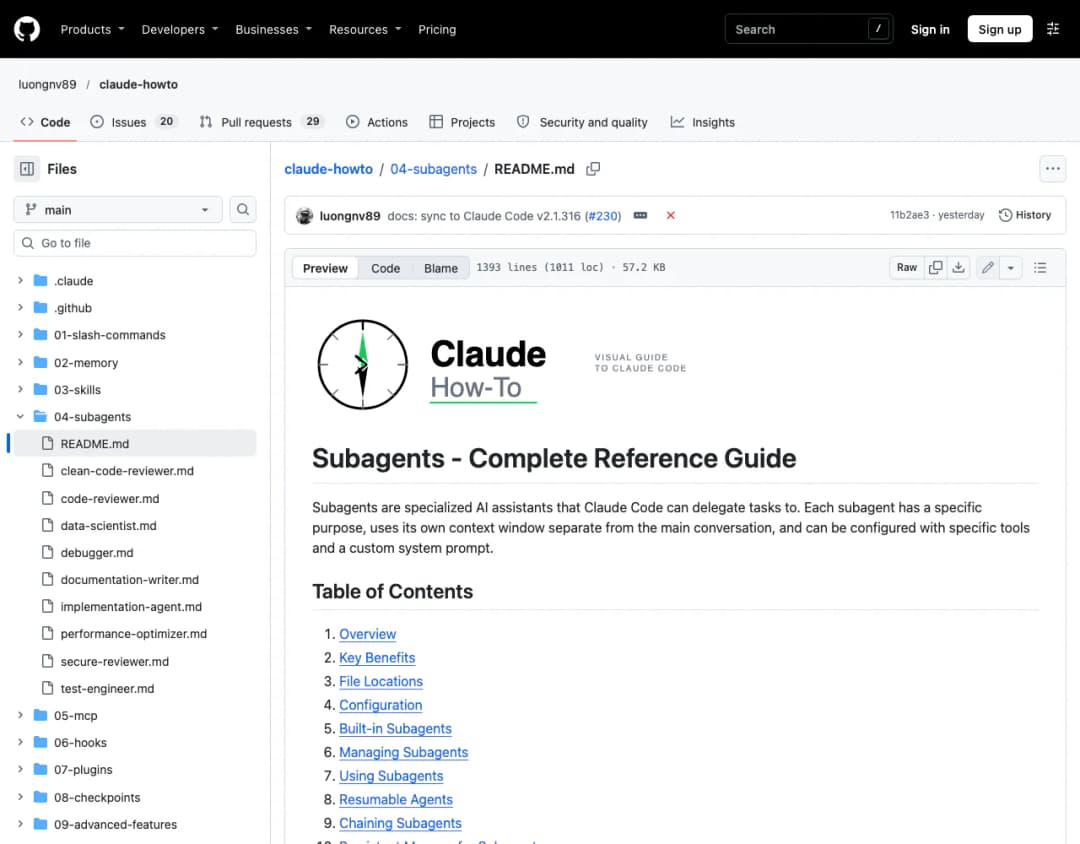
Task: install helpers and make Claude delegate
The guide's subagents folder includes ready-made examples: a code reviewer, a test engineer, a documentation writer and a secure reviewer, among others.
Install the examples
Run the commands below. They copy every example subagent into your project.
Ask for one by name
Start Claude Code and type "Use the code-reviewer subagent to review the files in this folder". The guide gives this form, for example "Have the code-reviewer subagent look at my recent changes".
Make your own by asking
Type "create a subagent that explains code in plain English for beginners". Claude writes the file into .claude/agents/. Open it and read it.
Run in your terminal from the claude-howto folder.
mkdir -p .claude/agents
cp 04-subagents/*.md .claude/agents/
The Level 2 finish: combine it all
The roadmap ends Level 2 with one combined exercise. Use MCP to fetch a GitHub pull request. Let Claude delegate the review to the code-reviewer subagent. Then use hooks to run tests automatically.
You are done when Claude hands a task to a subagent and your main conversation only receives the result, and you can explain the difference between MCP and subagents. That finishes Level 2.
Chapter 9: Advanced Features
Level 3 · 2 to 3 hours · Source: 09-advanced-features
What it is
This chapter covers the controls that make you faster and safer on big jobs: planning mode, permission modes, extended thinking, auto mode, background tasks and scheduled tasks. The roadmap also lists channels, voice dictation, remote and web sessions, and agent teams, which you can explore after these.
Why you need it
Up to now you have worked one prompt at a time. These features let Claude plan a large change before touching anything, work without stopping to ask you every time, and keep running while you do something else.
Key things to know
- Planning mode has two phases: Claude first writes a detailed plan for you to review and approve, then carries it out. Use it for multi-file refactoring, new features and architecture changes, not for tiny fixes. Start it with
/planfollowed by what you want. - Extended thinking lets Claude reason longer before answering. Toggle it with
Option+Ton macOS orAlt+Ton Windows and Linux, and set effort with/effort. On newer models the guide says thinking cannot be turned off. - Background tasks run long jobs such as test suites while you keep working. Press
Ctrl+Bto move a running command to the background, and use/tasksto see and stop them. - Scheduled tasks:
/loop 5m check if the deployment finishedrepeats a prompt on an interval, for the current session.
| Permission mode | What Claude can do without asking |
|---|---|
manual | Only read files. It asks before anything else. (Called default in older versions.) |
acceptEdits | Read and edit files. It asks before running commands. |
plan | Only read files. Research mode with no edits. |
auto | All actions, with a background safety classifier checking each one first. |
dontAsk | Only tools you have pre-approved. Everything else is denied. |
bypassPermissions | All actions with no prompts. The guide marks this as dangerous. |
Press Shift+Tab to cycle through the modes in a session, or start in one with claude --permission-mode plan. Auto mode needs an eligible model and provider, and its classifier can add token cost on some plans. Check the guide's requirements before relying on it.
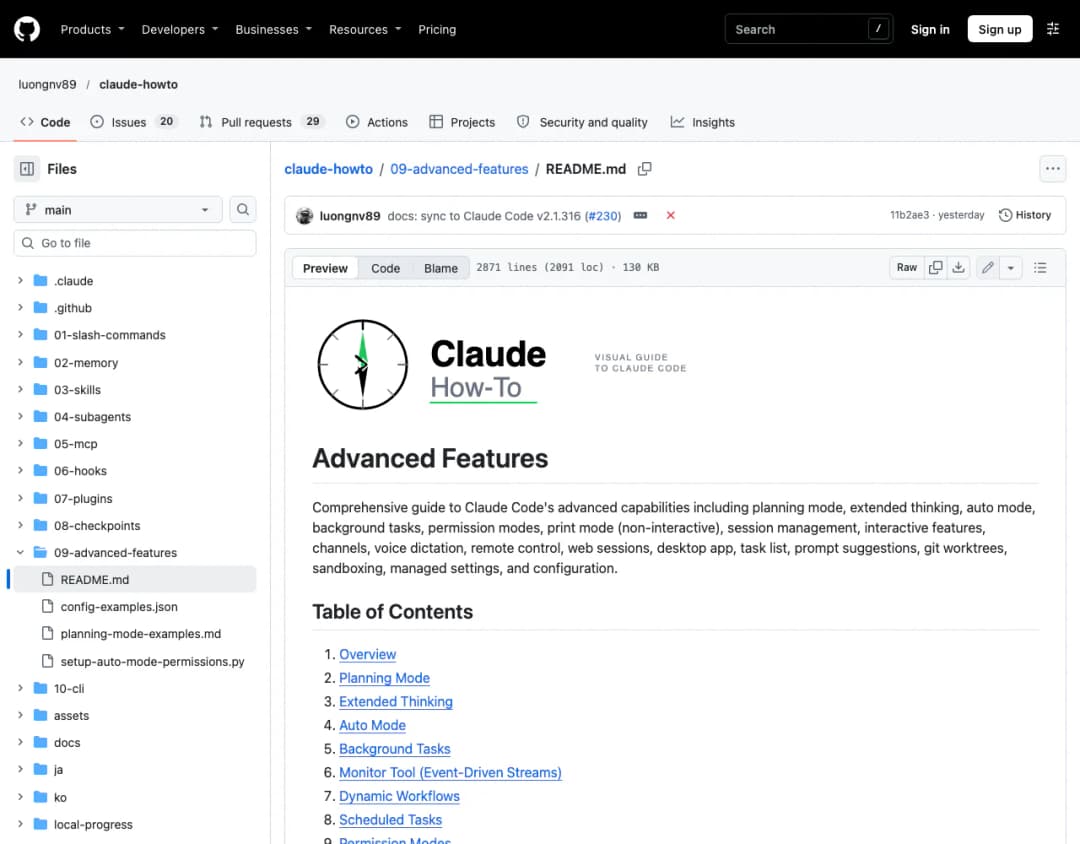
Task: plan first, then build with the right permissions
Make a plan
In Claude Code, type /plan followed by a feature you want, for example "add a README section that explains how to use this project". Read the plan it gives you. Ask for one change to it.
Change the permission mode
Press Shift+Tab a few times and watch the mode shown in the footer change. Then restart with claude --permission-mode plan "analyze this codebase".
Toggle thinking
Press Option+T (macOS) or Alt+T, and ask a question that needs real reasoning, such as comparing two ways to organise your project.
Run something in the background
Ask Claude to "run the full test suite in the background" in a project that has tests, keep chatting, then type /tasks to see it.
Schedule a repeat
Type /loop 5m check git status and let it run once or twice. Tasks last only for the current session, so close the session to stop it.
You are done when you have used planning mode for a larger change, switched permission modes with Shift+Tab, toggled extended thinking, seen a background task in /tasks, and run a /loop.
Chapter 10: Plugins
Level 3 · 2 hours · Source: 07-plugins
What it is
Plugins are bundles of customisations, including slash commands, subagents, MCP servers and hooks, that install with a single command. The guide calls them the highest-level extension mechanism because they combine the other features into one shareable package.
Why you need it
Once you have commands, skills, subagents and hooks that work well together, you do not want to copy ten files onto every machine. A plugin lets a teammate install your whole setup in one step.
Key things to know
- A plugin's manifest is a JSON file at
.claude-plugin/plugin.jsonwith at least aname, adescriptionand aversion. - The guide's decision rule: make a plugin when you need several components together, or when you want to share a workflow with a team. Otherwise use the single feature, or keep it as a local setup.
- Plugin commands show up in the slash menu with the plugin's name in front of the command.
- The repository includes three example plugins:
pr-review,devops-automationanddocumentation.
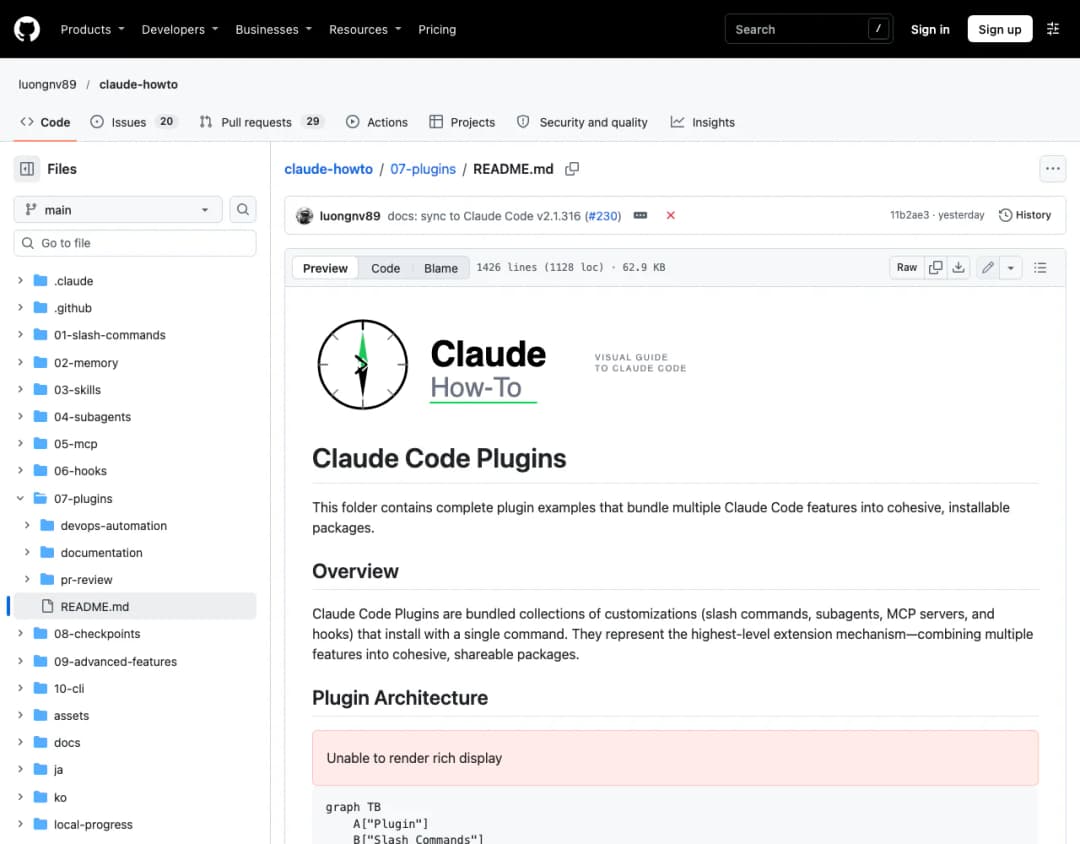
Task: load a plugin, then start your own
Load the example plugin
Run the first command below from the repository root. The --plugin-dir flag loads a plugin from a local folder for this session.
Check it is active
In Claude Code, type /plugin list, and type / to look for commands that start with pr-review.
Read how it is built
Open 07-plugins/pr-review/.claude-plugin/plugin.json and the commands folder beside it. This is the pattern for your own.
Scaffold your own
Run the second command. According to the guide, it creates a new plugin folder at ~/.claude/skills/my-plugin/ that loads in your next session, with no marketplace needed. Put one command from Chapter 1 inside it.
Run in your terminal. The first is the roadmap's exercise. The second is from the guide's CLI table.
claude --plugin-dir ./07-plugins/pr-review

claude plugin init my-plugin
You are done when you have installed and used a plugin, and made or modified one of your own. To share a plugin with others, the guide covers marketplaces, for example /plugin marketplace add username/repo and then /plugin install plugin-name@marketplace-name.
Chapter 11: CLI Mastery
Level 3 · 1 hour · Source: 10-cli (advanced sections)
What it is
This is Chapter 4 taken further. Print mode (claude -p) becomes a building block for scripts, scheduled jobs and CI/CD pipelines, with structured output, turn limits, session resuming and batch processing.
Why you need it
It is how Claude moves from something you chat with to something that works without you: reviewing every pull request, summarising a folder of documents, or checking logs on a schedule.
Key things to know
--output-format jsonreturns machine-readable output.stream-jsonstreams it as it arrives.--max-turnslimits how many steps Claude takes, and--max-budget-usdcaps spending in print mode.--json-schemaasks for output that matches a structure you define.claude -r "name" "query"resumes a named session, and--fork-sessionbranches it for experiments.- The guide's GitHub Actions example runs
claude -p --output-format json --max-turns 5on a pull request, with the API key stored as a secret. Never put a key in the workflow file itself.
Task: script Claude
Get JSON output
Run the first command in a project with some code, and check the output is JSON that a script could read.
Limit the work
Run the second command. --max-turns 3 stops Claude after three steps, which is how you keep an automated job from running away.
Resume a session
Name a session when you start it with claude -n "feature-auth", exit, then run the third command to come back to it.
Batch a folder
In a folder of markdown files, run the fourth block. It summarises every file and saves one JSON summary per file.
Run in your terminal. These are from the roadmap's Milestone 3B exercises.
# 1. JSON output for scripts
claude -p --output-format json "list all functions"

# 2. Limit the work, as you would in CI/CD
claude -p --max-turns 3 --output-format json "review code"

# 3. Resume a previous session
claude -r "feature-auth" "continue implementation"

# 4. Batch processing
for file in *.md; do
  claude -p --output-format json "summarize this: $(cat $file)" > ${file%.md}.summary.json
done
You are done when you have produced JSON output, limited a run with --max-turns, resumed a session, and run a batch over several files. The roadmap's final project is to build a small CI/CD script that reviews changed files with claude -p, outputs JSON, filters it with jq, and runs in a GitHub Actions workflow.
Which Feature to Use When
A common problem is that the features seem to overlap. The Skills guide includes this comparison. Source: "Skills vs Other Features" in 03-skills/README.md.
| Feature | How it starts | Best for |
|---|---|---|
| Slash commands | You type /name | Quick shortcuts (now merged into skills) |
| Memory (CLAUDE.md) | Always loaded | Persistent project context |
| Skills | Automatically, or by /name | Reusable expertise and workflows |
| Hooks | Triggered by events | Automated side effects |
| MCP | Real time | Outside data and services |
| Subagents | Delegated automatically | Isolated task execution |
Your Progress Checklist
- Chapter 1: installed
/optimizeand wrote your own command. - Chapter 2: set up CLAUDE.md and tested it in a fresh session.
- Chapter 3: made a change and rewound it.
- Chapter 4: used interactive mode, print mode and a piped file.
- Chapter 5: installed a skill that Claude used on its own.
- Chapter 6: set up a PreToolUse hook and read its audit log.
- Chapter 7: connected GitHub through MCP.
- Chapter 8: made Claude delegate to a subagent.
- Chapter 9: used planning mode, permission modes, thinking, background tasks and
/loop. - Chapter 10: loaded a plugin and started your own.
- Chapter 11: produced JSON output and ran a batch.
Sources and Credits
Everything in this post comes from the Claude How-To repository by luongnv89 and its contributors, which is MIT-licensed. This post is a walkthrough and summary, not a copy of the guide. For the full detail, read the originals.
- Claude How-To repository and its LICENSE
- LEARNING-ROADMAP.md: the order, time estimates and exercises
- 01-slash-commands, 02-memory, 03-skills, 04-subagents, 05-mcp, 06-hooks
- 07-plugins, 08-checkpoints, 09-advanced-features, 10-cli
The roadmap also lists these official pages as its references: Claude Code overview, commands, hooks, MCP, subagents and permission modes.
About this guide. We read the roadmap and all ten guides on 3 November 2026. The commands are copied from the roadmap and the guides. We did not run every exercise on a fresh machine for this post, so the pictures are of the repository pages, not of our own terminal. Where a step says what you should see, it comes from reading the guide or the script's code. The roadmap page says it was last updated on 26 October 2026 for Claude Code 2.1.310, and some guides were synced to 2.1.316, so small details may differ on your version. If a command or menu looks different on your screen, check the repository for the latest version.
Frequently Asked Questions
How do I learn Claude Code from scratch?
Work through the features in order: slash commands, memory, checkpoints and CLI basics first, then skills, hooks, MCP and subagents, then advanced features, plugins and CLI mastery. Finish one task in each chapter before you move on. The roadmap estimates about 11 to 13 hours in total.
Can I learn Claude Code for free?
Yes. The Claude How-To guide on GitHub is free, and this post follows it. You still need access to Claude Code itself, which depends on your Claude plan.
What is the difference between using Claude and using Claude Code?
Claude in a chat window answers questions. Claude Code works inside your folders, so it can read and edit files, run commands, remember your project rules, connect to outside services and hand work to helper agents.
What is a slash command in Claude Code?
A slash command is a shortcut that starts with a slash, such as /help. Claude Code has more than 60 built-in ones, and you can save your own by writing your instructions once and running them by name.
What is CLAUDE.md?
CLAUDE.md is a file Claude Code reads at the start of every session. It holds your project's standards and your preferences, so you do not have to repeat them. Create one with /init and edit it with /memory.
What are checkpoints in Claude Code?
A checkpoint is a snapshot of your session that Claude Code saves with every prompt. Press Esc twice or type /rewind to go back to an earlier one and undo Claude's changes. Checkpoints do not track changes made only by Bash commands, so keep using git for permanent history.
What is a skill in Claude Code?
A skill is a folder with a SKILL.md file of instructions that Claude uses automatically when your request matches its description. You teach Claude a routine once, and it follows it every time.
What is the difference between a slash command and a skill?
You run a slash command by typing it, and Claude can pick up a skill by itself when it fits. The guide says custom slash commands have been merged into skills: files in .claude/commands/ still work, but skills in .claude/skills/ are now recommended.
What are hooks in Claude Code?
Hooks are automated actions that run when a specific event happens in a session, for example before Claude runs a command. They are used for checks and automation that must happen every time, and a hook that exits with code 2 blocks the action.
What is MCP in Claude Code?
MCP, the Model Context Protocol, is a standard way to connect Claude to outside tools and live data, such as GitHub, Slack, databases and Google Docs. You add a server with claude mcp add and manage your servers with /mcp.
What is a subagent in Claude Code?
A subagent is a helper assistant with one job, its own context window and its own set of allowed tools. Claude hands it a task and gets the result back, so your main conversation stays clean and several jobs can run at once.
What is plan mode in Claude Code?
Plan mode makes Claude research and write a detailed plan before it changes anything. You review and approve the plan, then Claude carries it out. Start it with /plan followed by your task, or press Shift+Tab to cycle to it.
What are plugins in Claude Code?
Plugins are bundles of slash commands, subagents, MCP servers and hooks that install with one command. They are the way to share a complete Claude Code setup with a team.
Can Claude Code run in scripts and CI/CD?
Yes. Print mode (claude -p) answers one query and exits, and flags such as --output-format json and --max-turns make it usable in scripts and pipelines. Store any API key as a secret, never in the script.
Want more AI projects like this?
Step-by-step AI projects you can build and share, with the prompts included.
Access AI projects →